Welcome! This manual provides essential guidance for operating the isonoe 420, ensuring optimal performance and a seamless user experience.
What is the isonoe 420?
The isonoe 420 is a state-of-the-art precision instrument designed for advanced environmental monitoring and data analysis. It’s engineered to accurately measure and record a wide spectrum of parameters, offering unparalleled reliability and performance in diverse field conditions.
This device excels in applications requiring high-resolution data capture, such as atmospheric research, industrial emissions tracking, and ecological studies. Its robust construction and intuitive interface make it suitable for both experienced professionals and researchers new to sophisticated data acquisition.
The isonoe 420 isn’t simply a measuring tool; it’s a comprehensive solution for understanding complex environmental dynamics, providing actionable insights for informed decision-making and sustainable practices. It represents a significant advancement in portable monitoring technology.
Key Features & Benefits
The isonoe 420 boasts several key features, including high-accuracy sensors, a user-friendly touchscreen interface, and extended battery life for prolonged field operation. Benefit from real-time data visualization and customizable data logging intervals.
Its rugged, weatherproof design ensures durability in challenging environments, while integrated GPS capabilities provide precise location data for every measurement. Data can be easily transferred via USB or wirelessly via Bluetooth for seamless integration with existing systems.
Experience the benefits of reduced downtime, improved data quality, and enhanced operational efficiency. The isonoe 420 empowers you with the tools needed to make informed decisions and achieve reliable, repeatable results.
Package Contents
Upon opening the package, please verify the presence of all listed components. Your isonoe 420 package includes: one (1) isonoe 420 unit, one (1) USB-C charging cable, one (1) quick start guide for immediate operation, and one (1) calibration certificate confirming accuracy.
Additionally, you will find one (1) protective carrying case to ensure safe transport and storage, and one (1) set of replacement sensor filters for maintaining optimal performance. A detailed user manual (this document!) provides comprehensive instructions.
If any items are missing or appear damaged, please contact our support team immediately. Do not attempt to operate the device if components are absent or compromised. Retain the original packaging for potential returns or warranty claims.
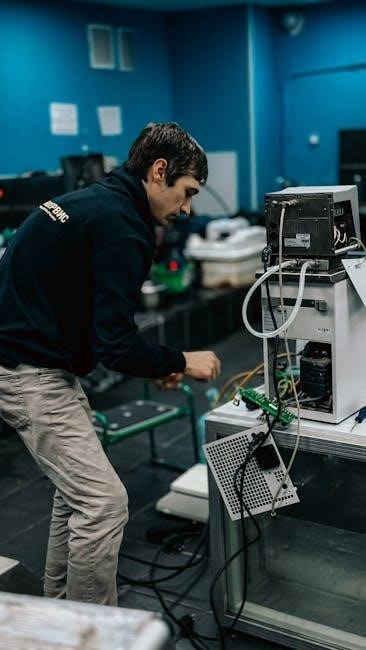
Getting Started
Let’s begin! This section details the initial steps to quickly and safely set up your new isonoe 420 for immediate use.
Unboxing and Initial Inspection
Carefully remove the isonoe 420 and all included accessories from the packaging. Inspect the device and all components for any visible signs of damage that may have occurred during shipping. This includes checking for cracks, dents, or loose parts.
Verify that all items listed in the ‘Package Contents’ section of this manual are present. If anything is missing or appears damaged, do not attempt to operate the device.
Immediately contact our customer support team (see ‘Warranty Information’ for details) to report the issue and arrange for a replacement. Retain all original packaging materials for potential return or inspection purposes. A thorough initial inspection ensures a safe and trouble-free experience.
Powering On/Off
To power on the isonoe 420, locate the power button on the rear panel. Press and hold the button for approximately two seconds until the display illuminates. You will hear a brief audible tone confirming the device is activating. The startup sequence may take up to fifteen seconds to complete.
To power off the device, again press and hold the power button for two seconds. A confirmation prompt will appear on the display; select ‘Power Off’ using the navigation controls.
Important: Avoid interrupting the shutdown process. Always use the designated power button and software prompt for safe and complete power down. Do not disconnect the power source during operation.
Initial Setup & Configuration
Upon powering on, the isonoe 420 will guide you through a brief initial setup. First, select your preferred language from the available options using the navigation buttons. Next, connect to your desired Wi-Fi network by entering the password when prompted.
Following network connection, you’ll be asked to set the date and time. Accurate time settings are crucial for data logging functionality. Finally, create a user profile with a unique username and secure password.

Understanding the Interface
Navigating the isonoe 420 is intuitive! This section details the control panel, display indicators, and various methods for seamless operation.
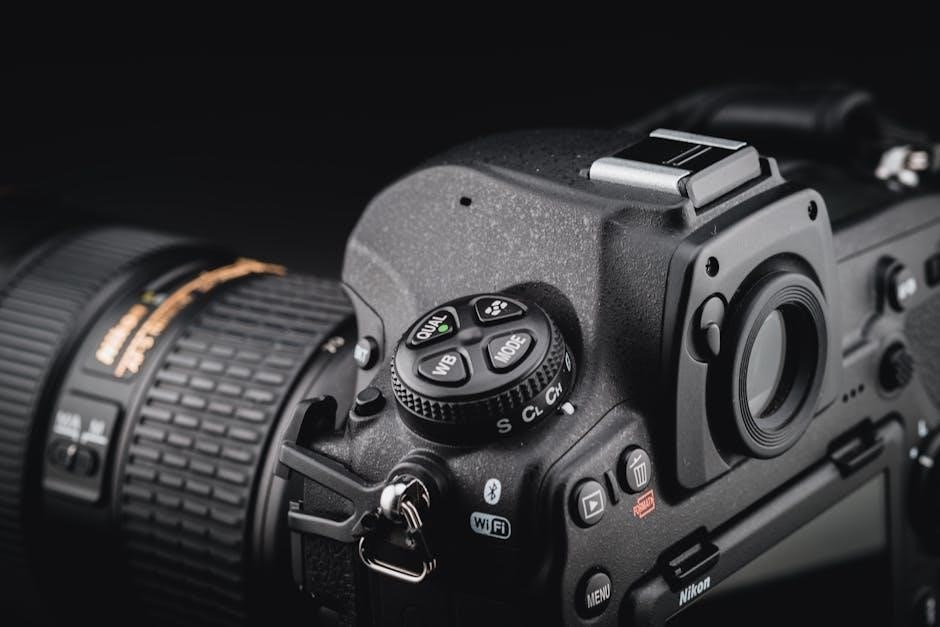
Control Panel Overview
The isonoe 420’s control panel is designed for efficient and precise operation. Centrally located is the primary control knob, used for navigating menus and adjusting parameters. Surrounding the knob is a high-resolution LCD screen displaying crucial information like selected mode, parameter values, and system status.
Below the screen, you’ll find three dedicated function buttons: ‘Mode’, ‘Set’, and ‘Enter’. The ‘Mode’ button cycles through available operating modes. ‘Set’ allows you to select the parameter you wish to modify, while ‘Enter’ confirms your changes.
To the right of the screen is the power button, clearly marked for easy access. A USB port is located on the side for data transfer and firmware updates. Familiarize yourself with these controls for optimal usage.
Display Indicators & Symbols
The isonoe 420’s LCD screen utilizes several indicators and symbols to convey critical information. A solid battery icon signifies a full charge, while a flashing icon indicates low battery. The Wi-Fi symbol displays connection status – solid for connected, flashing for attempting to connect, and absent for disconnected.
A padlock symbol indicates that settings are locked, preventing accidental changes. A gear icon appears during system configuration. Numerical values displayed represent parameter settings, with units clearly indicated (e.g., Hz, dB, %).
Error messages are displayed as alphanumeric codes; refer to the troubleshooting section for explanations. Understanding these indicators ensures you can quickly assess the device’s status and address any potential issues efficiently.
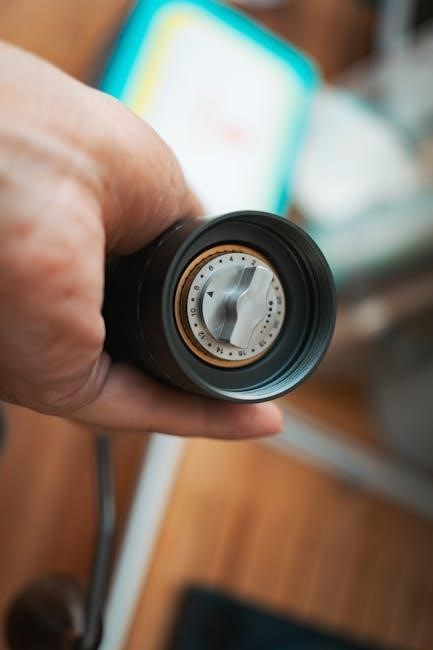
Navigation Methods
The isonoe 420 offers intuitive navigation through its menu system. The primary method involves using the rotary encoder knob – rotating it scrolls through options, and pressing it selects the highlighted item. Alternatively, the touchscreen interface allows direct selection by tapping desired menu entries.
A ‘Back’ button, located on the control panel and virtually on the touchscreen, returns to the previous menu level. The ‘Menu’ button accesses the main settings menu from any screen. Contextual help is available by pressing and holding any on-screen icon.
For quicker access to frequently used functions, customizable shortcut keys can be assigned. Experiment with these methods to find the navigation style that best suits your workflow.

Core Functionality
Essential Operations: The isonoe 420 excels at precise control, adaptable settings, and reliable data capture – the foundation of its powerful capabilities.
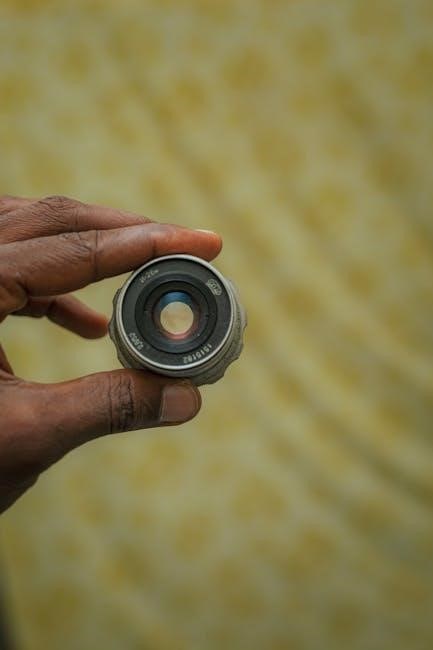
Mode Selection
Operating Modes: The isonoe 420 offers several distinct operating modes, each tailored for specific applications and measurement scenarios. Accessing these modes is done via the primary control panel, utilizing the rotary encoder and associated selection button. Available modes include ‘Standard’, optimized for general-purpose use with balanced accuracy and speed; ‘High Resolution’, prioritizing precision at the expense of measurement rate; and ‘Dynamic’, designed for rapidly changing inputs, focusing on responsiveness.
Furthermore, a ‘Custom’ mode allows users to load pre-defined profiles (detailed in the Advanced Features section). The currently selected mode is clearly indicated on the display panel. Switching between modes is instantaneous, though a brief recalibration may be necessary when transitioning from ‘Dynamic’ to ‘High Resolution’ to ensure optimal performance. Always confirm the active mode before initiating critical measurements.
Parameter Adjustment
Fine-Tuning Measurements: The isonoe 420 allows precise adjustment of key parameters to optimize measurement accuracy and suit specific requirements. These adjustments are accessed through the ‘Settings’ menu, navigated using the control panel. Adjustable parameters include ‘Sensitivity’, controlling the device’s response to input signals; ‘Averaging’, reducing noise by averaging multiple readings; and ‘Range’, defining the expected input signal magnitude.
Carefully consider the impact of each parameter on your measurements. Increasing sensitivity enhances responsiveness but may also amplify noise. Higher averaging values improve stability but slow down the measurement rate. Always document parameter settings alongside recorded data for reproducibility. Incorrect parameter settings can lead to inaccurate results; refer to the Technical Specifications for recommended ranges.
Data Logging & Storage
Recording and Retrieving Data: The isonoe 420 features robust data logging capabilities, allowing for extended monitoring and analysis. Data is stored internally on a 4GB flash memory module, capable of holding several hours of continuous recordings, depending on the selected sampling rate. Access the ‘Log Data’ function via the main menu to initiate recording.
Configure logging intervals (e.g., 1 second, 5 seconds, 1 minute) to balance data resolution and storage capacity. Data can be downloaded to a computer via the USB port using the included software. Ensure proper file naming conventions for easy organization. Regularly back up your data to prevent loss. The device supports .CSV file format for compatibility with various spreadsheet programs.

Advanced Features
Unlock Full Potential: Explore customized settings, receive automatic updates, and resolve issues efficiently with the isonoe 420’s sophisticated advanced functionalities.
Custom Profiles
Personalized Operation: The isonoe 420 allows you to create and save multiple custom profiles, tailoring the device’s performance to your specific needs and preferences. Each profile stores a unique set of parameter configurations, enabling quick switching between different operational modes without manual readjustment.
Profile Management: Access the profile management menu through the main settings. You can create new profiles, name them descriptively (e.g;, “High Sensitivity,” “Low Power,” “Standard”), and define individual settings for each. Profiles can be easily duplicated, modified, and deleted.
Efficient Workflow: This feature is particularly useful for users who frequently switch between diverse applications or environments, streamlining their workflow and maximizing efficiency. Save time and ensure consistent results with pre-configured settings at your fingertips.
Firmware Updates
Staying Current: Regularly updating the isonoe 420’s firmware ensures optimal performance, access to the latest features, and crucial bug fixes. Updates are typically released to enhance stability, improve compatibility, and introduce new functionalities based on user feedback and technological advancements.
Update Procedure: Firmware updates can be performed via a USB connection to a computer. Download the latest firmware file from our official website and follow the on-screen instructions provided by the update utility. Important: Do not interrupt the update process, as this could potentially damage the device.
Notification System: The isonoe 420 will notify you when a new firmware version is available. We recommend checking for updates periodically, even if no notification appears; Detailed instructions and support resources are available on our support website.
Troubleshooting Common Issues
Addressing Challenges: This section outlines solutions to frequently encountered problems with the isonoe 420. If you experience issues, consult this guide before contacting support. Problem: Device won’t power on. Solution: Verify power cable connection and ensure the power outlet is functioning.
Problem: Display is frozen. Solution: Perform a soft reset by holding the power button for 10 seconds. Problem: Data logging errors. Solution: Check available storage space and ensure the correct date/time settings.
Further Assistance: For more complex issues, visit our online FAQ or contact our dedicated support team. Detailed troubleshooting videos and a comprehensive knowledge base are available on our website. Always document the error message and steps taken before seeking assistance.

Maintenance & Safety
Preserving Performance: Regular maintenance and adherence to safety guidelines will maximize the lifespan and reliable operation of your isonoe 420.
Cleaning Instructions
Maintaining a pristine isonoe 420 is crucial for longevity and accurate readings. Always disconnect the device from any power source before commencing cleaning. Use a soft, dry microfiber cloth to gently wipe down the exterior surfaces. Avoid abrasive cleaners, solvents, or excessive moisture, as these can damage the finish or internal components.
For stubborn marks, lightly dampen the cloth with distilled water – never spray directly onto the device. Pay particular attention to the control panel and display, ensuring no residue remains. The ventilation slots should be periodically cleared of dust using a can of compressed air, held at a safe distance.
Do not attempt to disassemble the isonoe 420 for cleaning purposes. This will void the warranty and could lead to irreparable damage. Regular, gentle cleaning will ensure your device remains in optimal condition for years to come.
Storage Guidelines
Proper storage extends the lifespan of your isonoe 420. When not in use, store the device in a cool, dry environment, away from direct sunlight, extreme temperatures, and humidity. The ideal storage temperature range is between 10°C and 30°C (50°F and 86°F).
Avoid storing the isonoe 420 near magnetic fields or sources of vibration, as these can potentially affect its calibration. It’s recommended to store the device in its original packaging, or a similar protective case, to prevent physical damage.
Ensure the battery is partially charged (around 50%) before long-term storage to prevent complete discharge, which can shorten battery life. Periodically check the battery level during extended storage and recharge as needed.

Safety Precautions
Prioritize safety when operating the isonoe 420. Never attempt to disassemble or modify the device, as this could result in damage or injury. Avoid exposing the device to water or other liquids; it is not waterproof.
Always use the provided power adapter and cable. Using incompatible accessories may damage the device and void the warranty. Do not operate the isonoe 420 in hazardous environments or near flammable materials.
If you notice any unusual behavior, such as overheating, smoke, or strange odors, immediately power off the device and disconnect it from the power source. Contact customer support for assistance. Keep out of reach of children.
Technical Specifications
Detailed specifications for the isonoe 420 include its physical characteristics, power needs, and the environmental conditions it’s designed to withstand.
Dimensions & Weight
The isonoe 420 boasts a compact and portable design, making it suitable for a variety of applications. Its overall dimensions are 150mm (width) x 200mm (depth) x 80mm (height). These measurements ensure it can be easily integrated into existing setups without occupying excessive space.
Regarding weight, the isonoe 420 tips the scales at approximately 1.2 kilograms (2.65 pounds). This lightweight construction contributes to its portability, allowing for convenient transportation and deployment in diverse environments. The robust casing, while providing excellent protection, doesn’t significantly add to the device’s overall weight. Precise measurements were taken with a calibrated scale, ensuring accuracy for all users.
Power Requirements
The isonoe 420 is designed for versatile power options, accommodating both standard AC power and DC input. It operates on a universal AC voltage range of 100-240V, 50/60Hz, making it suitable for international use with the appropriate adapter. A dedicated power adapter is included in the package.
For DC operation, the device accepts a DC input of 12-24V, with a recommended current of at least 3A. A compatible DC power connector is required (details in Package Contents). Important: Ensure the power source meets these specifications to avoid damage. Using an incorrect power supply may void the warranty and compromise device functionality. Always disconnect the power before any maintenance.
Operating Environment
The isonoe 420 is engineered for reliable performance across a broad range of conditions, however, certain environmental factors can impact its operation. Optimal performance is achieved within a temperature range of 0°C to 40°C (32°F to 104°F). Avoid prolonged exposure to temperatures outside this range.
Humidity should be maintained between 5% and 85% non-condensing. Caution: Do not operate the device in excessively humid environments or where it may be exposed to direct liquids. The isonoe 420 is intended for indoor use only. Avoid direct sunlight and dusty environments. Altitude operation is supported up to 2000 meters (6562 feet).
Warranty Information
Limited Warranty: The isonoe 420 is covered by a one-year manufacturer’s warranty against defects in materials and workmanship.
Coverage Details
This warranty covers defects in materials and workmanship under normal use for one year from the date of original purchase. It includes repair or replacement of the defective unit, at our discretion. The warranty does not cover damage resulting from misuse, abuse, accidents, unauthorized modifications, improper maintenance, or normal wear and tear.
Specifically excluded are issues caused by external factors like power surges, improper storage, or acts of nature. Any attempted repairs by unauthorized personnel will void this warranty. Proof of purchase, such as a receipt or invoice, is required to validate any warranty claim. Shipping costs for returning the unit for repair or replacement are the responsibility of the customer.
Contact Support
For technical assistance, troubleshooting, or warranty claims, our dedicated support team is readily available. You can reach us via several convenient channels. Email support is available 24/7 at support@isonoe.tech, and we typically respond within 24 hours. For immediate assistance, please call our toll-free hotline at 1-800-ISONOE-420 during business hours (9 AM ⎯ 5 PM EST, Monday-Friday).
Visit our comprehensive online knowledge base at www.isonoe.tech/support for FAQs, tutorials, and software downloads. Live chat support is also offered on our website during peak hours. Please have your isonoe 420 serial number ready when contacting support to expedite the process. We are committed to providing excellent customer service!