
Fanimation Remote Control Manual: A Comprehensive Guide
This comprehensive guide will provide you with all the information needed to understand, operate, and troubleshoot your Fanimation remote control. We’ll cover everything from model identification to advanced settings.
Understanding Fanimation Remote Controls
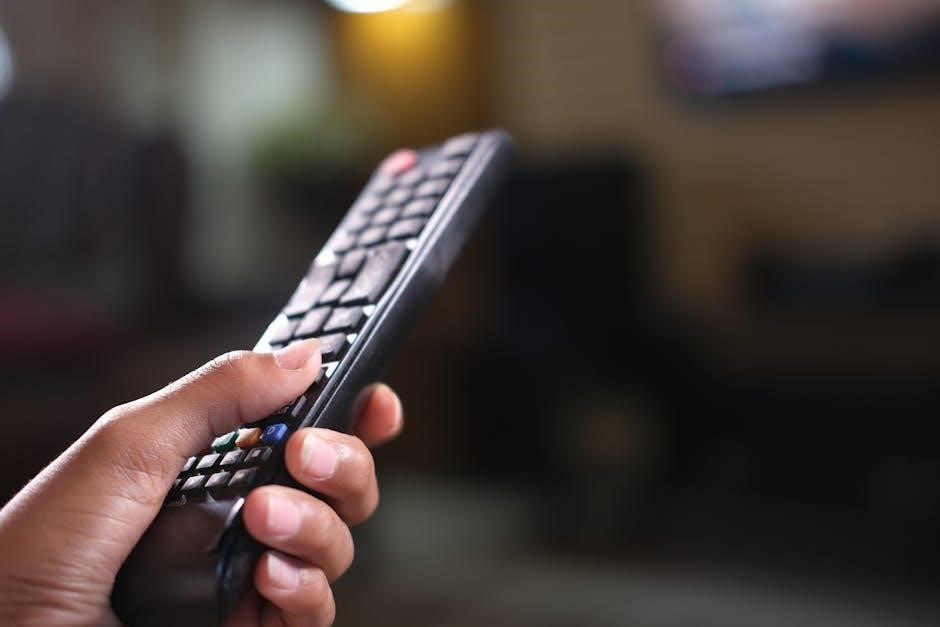
Fanimation remote controls are designed to offer convenient control over your ceiling fans, typically managing fan speed and light settings. These remotes often feature advanced functionalities such as dimming and timer options. To ensure optimal performance, it’s crucial to understand the specific features and capabilities of your remote model. This section provides a general overview of Fanimation remote controls and their common functionalities, serving as a foundation for more detailed instructions later in this guide. We will explore the range of capabilities these remotes offer.
Identifying Your Fanimation Remote Model
Before using this guide, it’s essential to identify your specific Fanimation remote model. This ensures you’re referencing the correct instructions and troubleshooting tips relevant to your device.
Locating the Model Number
Finding the model number of your Fanimation remote is the first step to accessing the correct manual. Typically, the model number is printed on the back of the remote control itself, often inside the battery compartment. Look for a series of numbers and letters, usually near the FCC ID or other regulatory information. This number is crucial for downloading the appropriate manual and understanding its specific functions. Once located, make a note of it for future reference when seeking support or replacement parts.
Downloading the Correct Fanimation Remote Control Manual
To ensure proper operation, downloading the correct manual is essential. Here’s how to access official and alternative online resources to find the specific manual for your Fanimation remote model.
Official Fanimation Website
The most reliable source for your Fanimation remote control manual is the official Fanimation website, fanimation.com. Navigate to the “Support” or “Downloads” section of the website and search for your specific fan model. Current specification sheets and owner’s manuals are available under the Support Documents tab for each fan online. Historical fan information can be obtained by contacting Customer Care. This ensures you receive the correct and most up-to-date information.
ManualsLib and Other Online Resources
In addition to the official Fanimation website, resources like ManualsLib offer a wide selection of Fanimation manuals. However, always verify the manual’s accuracy and compatibility with your specific remote model before following any instructions. Keep in mind there are over 663 Fanimation manuals found in All-Guides Database. Search using your model number to ensure you download the appropriate guide. Remember, official sources are always the preferred option to avoid misinformation.

Basic Operations: Fan Speed and Light Control
This section explains the basic functionalities of your Fanimation remote, including how to adjust the fan speed (usually with multiple settings) and how to turn the light on and off.
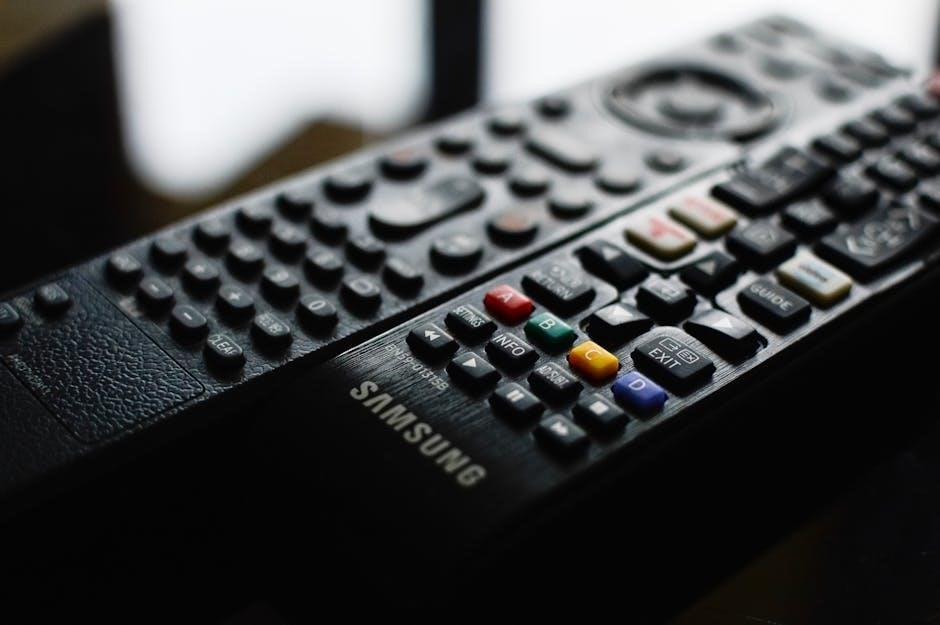
Adjusting Fan Speed
Most Fanimation remotes offer multiple fan speed settings, typically ranging from low to high. Use the designated fan speed button on your remote to cycle through these options. Some remotes might have separate buttons for each speed. Ensure the receiver in the fan canopy is properly connected for the speed adjustments to function correctly. If the fan doesn’t respond, check the remote’s battery and the receiver’s wiring. Consult your specific model’s manual for precise button designations.
Controlling the Light
Fanimation remotes typically include a dedicated button for controlling the fan’s light fixture. Pressing this button usually turns the light on or off. Some remotes also offer dimming functionality, allowing you to adjust the light’s brightness. If your remote has a dimmer function, it might involve pressing and holding the light button. Make sure the light kit is properly installed and the bulbs are compatible. Refer to your manual for specific dimming instructions and bulb compatibility.

Advanced Features and Settings
Certain Fanimation remote models offer advanced features like dimmer settings for controlling light intensity and timer functions for automated operation. These options can enhance convenience and energy efficiency in your home.
Dimmer Function (if applicable)
If your Fanimation remote control includes a dimmer function, you can adjust the brightness of the connected light fixture. To use this feature, ensure the light dimmer function select switch is set to the dimmer position. Press and hold the light button on the remote to increase or decrease the light intensity, creating the perfect ambiance for any occasion. This feature only works with compatible dimmable bulbs.
Timer Settings (if applicable)
Some Fanimation remote controls offer timer settings, allowing you to automatically turn off the fan and/or light after a set period. Typically, you can choose from options like 3-hour or 6-hour timers by tapping the corresponding button on your remote. This feature is useful for saving energy or for providing a comfortable sleeping environment. Consult your remote’s manual for the specific timer options and operation.

Troubleshooting Common Issues
This section provides solutions for common problems encountered while using your Fanimation remote control. We’ll address issues like unresponsive remotes, incorrect fan speeds, and light malfunctions to help you get back up and running.
Remote Not Responding
If your Fanimation remote isn’t responding, first, ensure the battery is correctly installed and has sufficient charge. Try replacing the battery with a new one of the correct type. Next, check for any obstructions between the remote and the receiver unit in the fan canopy. Verify that the remote code matches the receiver’s code; re-establish the connection if needed by checking dip switch settings. Ensure the fan’s power supply is active, and if issues persist, consult troubleshooting for electrical checks.
Incorrect Fan Speed or Light Function
If your Fanimation fan exhibits incorrect speed or light function, begin by verifying the remote’s settings. Ensure that the dimmer function select switch is in the correct position. If using a learning remote, confirm it has correctly learned the receiver’s settings. Check the wiring connections within the fan canopy, ensuring no loose or incorrect connections exist. Inspect the dip switch settings on both the remote and receiver, matching them to avoid interference from other remote units nearby. Contact customer care for assistance if the problem persists.
Replacing the Remote Battery
A dead battery can cause remote malfunction. Identifying the correct battery type and location is crucial. Follow the proper replacement procedure to ensure correct polarity and functionality of your Fanimation remote.
Battery Type and Location
Fanimation remotes typically use button/coin cell lithium batteries. Refer to your specific remote model or the original manual to identify the exact battery type required, such as CR2032. The battery compartment is usually located on the back of the remote, often secured by a small screw or a sliding cover; Use a small screwdriver to open the compartment if needed. Note the battery’s orientation before removing it.
Proper Replacement Procedure
Once you have identified the correct battery type, carefully remove the old battery, noting its positive (+) and negative (-) orientation. Install the new battery, ensuring it is placed in the correct direction. Secure the battery compartment cover or screw. Test the remote by pressing a button and observing if the fan or light responds. Dispose of the old battery properly, following local regulations for lithium battery disposal, to prevent environmental harm.

Setting the Remote Control Code
Setting the remote control code is crucial to prevent interference from other devices. This often involves dip switches located inside the remote and receiver unit.
Dip Switch Configuration
Dip switches are small switches, often found in a group, inside both the remote control and the receiver unit located in the fan’s canopy. These switches must be set to the same configuration to ensure proper communication. Use a small screwdriver or pen to adjust the dip switches. Ensure power is disconnected before accessing the receiver unit. Remember the code combination you have set, as it will be needed for troubleshooting later on. Matching the codes prevents conflicts with other remote units. The factory setting is often all switches in the “up” position.
Avoiding Interference
To minimize interference from other devices, select a unique dip switch combination. If you experience erratic fan behavior, such as unexpected speed changes or light flickering, interference is a likely cause. Try changing the dip switch settings on both the remote and the receiver. Keep the remote away from other electronic devices that emit radio frequencies. If you have multiple Fanimation fans in close proximity, ensure each fan and remote have distinct dip switch settings to prevent one remote from controlling multiple fans simultaneously. Test different codes until you find one that provides stable operation.
Wiring and Installation (CR500 Example)
This section provides wiring instructions, with the CR500 remote control as an example. Always disconnect power before beginning any wiring work. If unsure, consult a qualified electrician for assistance.
Electrical Specifications
The Fanimation CR500 remote control operates on a standard 120V, 60Hz power supply. It is designed for use with most Fanimation AC fans. The fan motor should not exceed 1.0 amps. Always ensure the electrical supply matches the specifications listed on the remote control receiver unit. Incorrect voltage or amperage could damage the unit and create a safety hazard. Refer to the catalog on Fanimation’s website for more information.
Wiring Instructions
Before commencing any wiring, ensure the electricity is turned off at the main fuse box to prevent electrical shock. Connect the black AC input wire (AC IN L) to the black wire from the power source. Connect the black wire labeled “TO MOTOR L” to the black motor wire. If the fan or supply wires have different colors, consult a qualified electrician for proper installation, ensuring safe and compliant wiring.

Where to Find Support and Additional Information
Need more help? Fanimation offers customer care via phone at 888-567-2055 and email at techsupport@fanimation.com. Explore online forums for community assistance and further insights from other Fanimation users.
Fanimation Customer Care
For direct assistance, Fanimation’s customer care team is available to provide support and answer your questions. You can reach them by calling 888-567-2055. Their knowledgeable representatives can assist with troubleshooting, warranty inquiries, and general information about your Fanimation remote control and ceiling fan systems. Alternatively, you can email their support team at techsupport@fanimation.com for assistance with technical issues or to request documentation. Remember to have your model number ready when contacting support to expedite the process.
Online Forums and Communities
Beyond official support channels, online forums and communities dedicated to home improvement and ceiling fans can offer valuable insights and solutions. Websites like ManualsLib and dedicated fan forums often host discussions where users share their experiences with Fanimation remotes. These platforms can be a great resource for finding troubleshooting tips, alternative solutions, and user-generated guides. Engaging with these communities allows you to learn from others and potentially find answers to specific issues you might be facing with your remote.