
Psoriasis Diet Plan: A Comprehensive Guide (Updated September 1, 2026)
Navigating psoriasis through diet requires personalized strategies. Resources like downloadable PDF guides can offer structured plans,
but individual triggers vary, necessitating careful elimination and reintroduction of foods.
Understanding Psoriasis and Diet
Psoriasis, an autoimmune condition, manifests as inflamed, scaly skin patches. While genetics play a role, diet significantly influences flare-ups. Understanding this connection is crucial for effective management. Many find relief by modifying their eating habits, though a “one-size-fits-all” approach doesn’t exist.
PDF resources often detail how inflammation within the body exacerbates psoriasis symptoms. Certain foods can trigger this inflammation, while others possess anti-inflammatory properties. Identifying personal triggers is key, often involving elimination diets like AIP or GAPS. These diets, detailed in downloadable guides, aim to reduce autoimmune responses.
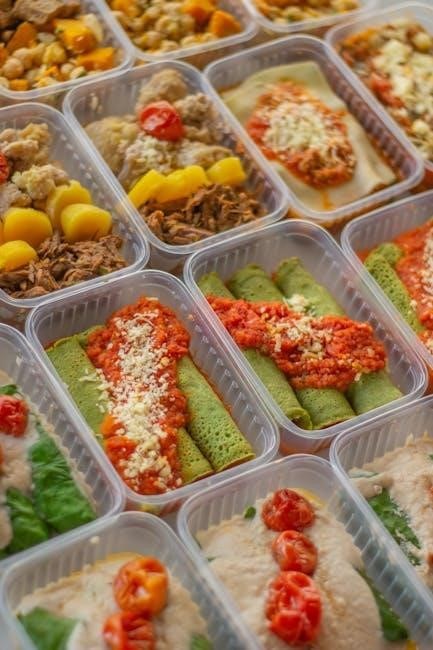
It’s important to remember that dietary changes aren’t a cure, but a powerful tool to manage symptoms alongside conventional treatments. PDF guides can provide meal plans, shopping lists, and recipes tailored for psoriasis sufferers, offering a structured path toward dietary control and improved well-being; Patience and consistency are vital, as improvements may take weeks or months.
The Connection Between Food and Psoriasis Flare-Ups
Psoriasis flare-ups are often linked to systemic inflammation, and diet is a major modulator of this process; Certain foods can directly trigger inflammation, worsening symptoms, while others can help soothe the immune response. PDF resources dedicated to psoriasis diets emphasize identifying these individual triggers.
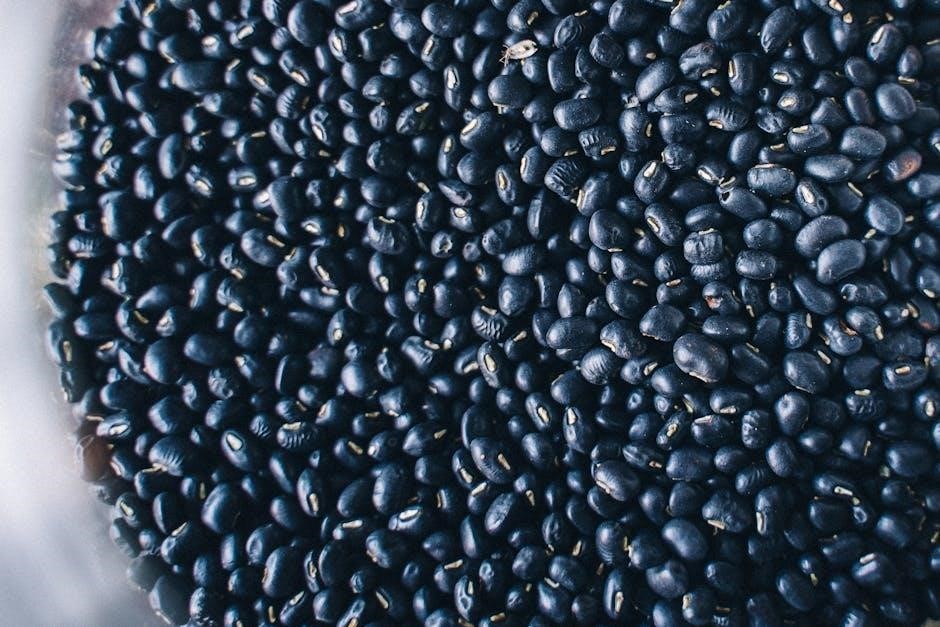
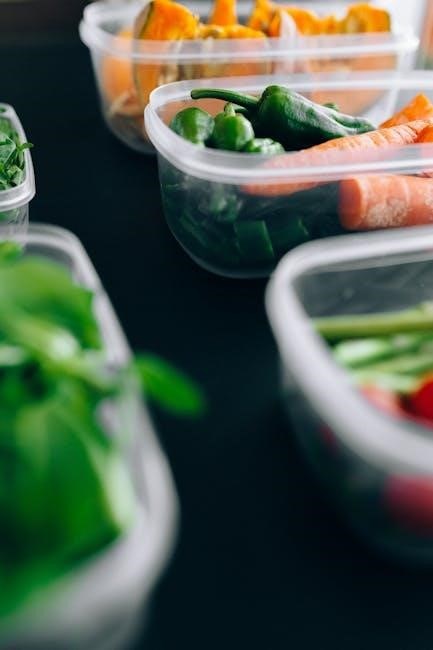
Common culprits include gluten, dairy, processed sugars, and alcohol, all of which can contribute to intestinal permeability (“leaky gut”), fueling autoimmune reactions. Conversely, anti-inflammatory foods like fatty fish, fruits, and vegetables can offer protection. PDF guides often provide detailed lists of both beneficial and problematic foods.
The autoimmune nature of psoriasis means the body attacks its own skin cells. Dietary interventions, as outlined in PDF plans, aim to reduce this self-attack by minimizing inflammatory stimuli. It’s crucial to understand that symptom relief isn’t always immediate; it can take time for auto-antibodies to dissipate, similar to the effect of a vaccine.
Initial Dietary Steps for Psoriasis Management
PDF diet plans suggest starting by removing gluten, dairy, sugar, and alcohol. These common triggers often exacerbate inflammation and worsen psoriasis symptoms quickly.
Eliminating Common Trigger Foods: Gluten
Gluten, a protein found in wheat, barley, and rye, is a frequent dietary culprit in psoriasis flare-ups. Many PDF psoriasis diet plans prioritize its complete removal. This isn’t simply about avoiding bread; gluten hides in unexpected places like sauces, seasonings, and processed foods.
The connection stems from potential intestinal permeability (“leaky gut”) and molecular mimicry, where gluten proteins resemble those in the skin, triggering an autoimmune response. Eliminating gluten allows the gut to heal, potentially reducing systemic inflammation.
PDF resources often detail gluten-free alternatives and label-reading strategies. Be vigilant about cross-contamination – even small amounts can be problematic. While challenging, a strict gluten-free trial (typically several weeks) is crucial for determining its impact on your psoriasis. Remember, individual reactions vary, and a dietitian can guide this process.
Eliminating Common Trigger Foods: Dairy
Dairy products, including milk, cheese, and yogurt, are another common trigger for psoriasis symptoms. Many PDF psoriasis diet plans recommend a dairy-free elimination phase to assess individual sensitivity. The proteins casein and whey within dairy can contribute to inflammation, potentially exacerbating skin conditions.
Similar to gluten, dairy can worsen intestinal permeability, fueling systemic inflammation. Some individuals lack sufficient lactase enzymes, leading to digestive issues that further aggravate psoriasis. A trial elimination period, guided by PDF resources, typically lasts several weeks.

Focus on calcium-rich alternatives like leafy greens, fortified plant-based milks, and sardines. Carefully scrutinize ingredient lists, as dairy derivatives (whey, lactose) are often hidden in processed foods. A dietitian can help ensure adequate nutrient intake during dairy elimination and interpret your body’s response.
Eliminating Common Trigger Foods: Sugar & Alcohol

Sugar and alcohol are significant inflammatory agents and frequently appear on lists within PDF psoriasis diet plans as primary foods to eliminate. Excessive sugar intake spikes blood glucose, promoting inflammation and potentially triggering flare-ups. This includes refined sugars, high-fructose corn syrup, and even natural sweeteners in large quantities.
Alcohol, particularly beer, can disrupt gut health and worsen inflammation. It also interferes with the liver’s detoxification processes, potentially exacerbating psoriasis symptoms. Many PDF guides emphasize complete alcohol abstinence during the initial elimination phase.
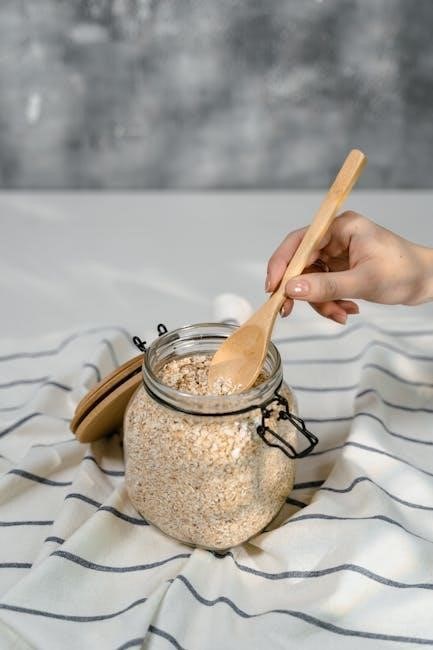
Focus on whole, unprocessed foods and naturally occurring sugars in fruits (in moderation). Prioritize hydration with water and herbal teas. A dietitian specializing in psoriasis can help navigate sugar cravings and develop a sustainable, anti-inflammatory eating plan, often detailed in comprehensive PDF resources.

Exploring Advanced Dietary Approaches
PDF resources detail protocols like AIP and GAPS, offering stricter elimination phases. These advanced plans aim to address autoimmune responses and gut health.
The Autoimmune Protocol (AIP) Diet for Psoriasis
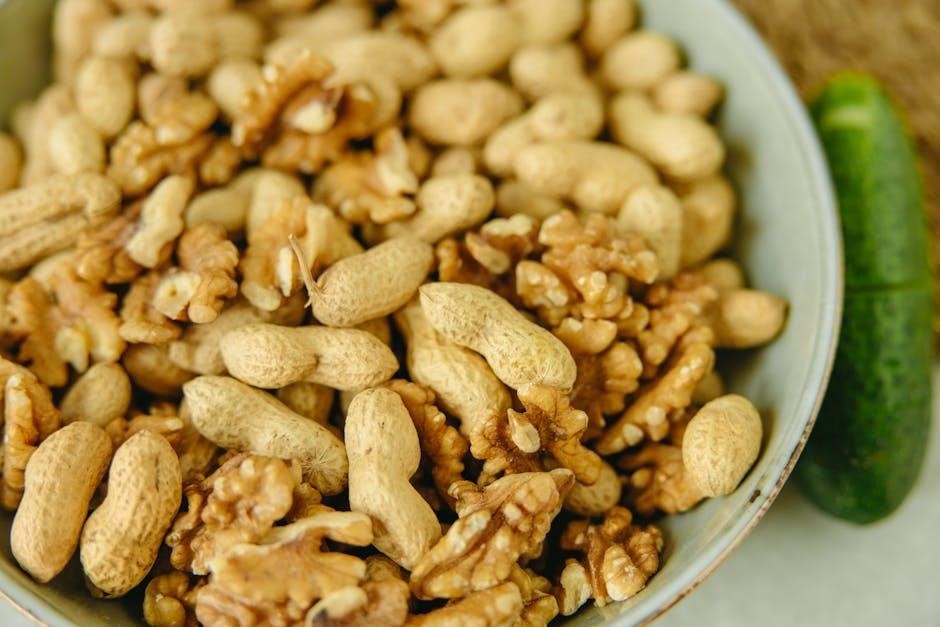
The Autoimmune Protocol (AIP) diet is a highly restrictive elimination diet designed to reduce inflammation and heal the gut, often beneficial for autoimmune conditions like psoriasis. PDF guides detailing AIP provide comprehensive food lists – what to remove and eventually reintroduce. Initially, it eliminates gluten, dairy, nightshades, eggs, nuts, seeds, and processed foods.
The core principle is to remove potential irritants allowing the gut lining to heal. Many PDF resources emphasize that symptom improvement isn’t always immediate. Autoantibody dissipation, similar to vaccine response, can take up to six months. Individuals may experience subtle improvements like increased energy or better digestion before visible skin changes.
However, unintentional consumption of prohibited foods, particularly sneaky nightshade spices in processed items, can hinder progress; Reactivity to allowed foods like cucurbits (squash, cucumbers, melons), cassava, or coconut is also possible, requiring further individual elimination. PDFs often highlight these potential pitfalls.
AIP Diet: Expected Timeline for Improvement (3-6 Months)
Realistic expectations are crucial when starting the AIP diet for psoriasis. While some experience early benefits, significant improvement typically unfolds over 3-6 months. PDF guides often emphasize this timeframe, cautioning against discouragement at 45 days without noticeable changes. Initial shifts, like increased energy or improved digestion, may precede visible skin improvements.
The delay stems from the time required for autoantibodies – responsible for the autoimmune attack – to dissipate. This process mirrors vaccine-induced antibody creation, needing months to fully resolve. PDF resources highlight that consistent adherence is key during this period.
However, lack of progress could indicate unintentional dietary breaches, especially hidden nightshades in processed foods. Individual reactivity to allowed foods (cucurbits, cassava, coconut) is also possible, necessitating further elimination. Detailed PDF checklists can aid in identifying and avoiding these potential roadblocks, ensuring optimal results within the expected timeframe.
Potential AIP Reactivity: Beyond the Standard List (Cucurbits, Cassava, Coconut)
While the standard AIP diet eliminates common triggers, individual sensitivities extend beyond these. Many individuals react to foods considered permissible, hindering progress. PDF guides detailing AIP often acknowledge this variability, emphasizing personalized observation. Cucurbits (squash, cucumbers, melons) are frequent culprits, causing flare-ups in susceptible individuals.
Cassava and coconut also present reactivity challenges for some. These seemingly “safe” foods can trigger autoimmune responses, delaying healing. PDF resources often suggest a phased reintroduction, carefully monitoring for symptoms after each addition. Keeping a detailed food journal is vital.
Identifying these hidden triggers requires diligent self-experimentation. PDF checklists can help track potential reactions. Remember, AIP isn’t one-size-fits-all; tailoring the protocol based on individual responses, guided by comprehensive PDF information, is crucial for success.
Hidden Nightshades: A Common AIP Pitfall (Cayenne, Paprika)
Nightshades are strictly prohibited on AIP due to their potential to exacerbate inflammation. However, they’re notoriously “sneaky,” frequently hidden in processed foods and spice blends. PDF guides often highlight this challenge, urging meticulous label reading. Cayenne pepper and paprika, common seasonings, are prime examples of concealed nightshades.
Even trace amounts can trigger flare-ups, undermining AIP’s effectiveness. Many pre-made sauces, seasonings, and even some sausages contain hidden nightshades. PDF resources frequently provide lists of ingredients to avoid and alternative spice options.
Diligent avoidance is paramount. Cross-contamination in kitchens is also a concern. Thoroughly researching ingredients and opting for whole, unprocessed foods are essential. Comprehensive PDF checklists can aid in identifying potential nightshade sources, ensuring strict adherence to the protocol and maximizing potential benefits.

Alternative Dietary Protocols
PDF guides detail options like GAPS and Whole30. GAPS is more restrictive, while Whole30 serves as a beneficial starting point for dietary adjustments and symptom tracking.
The GAPS Diet: A More Restrictive Option
The Gut and Psychology Syndrome (GAPS) diet represents a significantly more demanding approach compared to AIP, particularly during its initial phases. PDF resources outlining the GAPS protocol emphasize a staged reintroduction of foods, beginning with easily digestible broths and progressing slowly. This diet focuses intensely on healing the gut lining, believing that a compromised gut contributes to autoimmune responses like psoriasis.
It initially eliminates all grains, legumes, nuts, seeds, nightshades, and most processed foods – a far broader restriction than AIP. While challenging, proponents suggest GAPS may be beneficial when AIP doesn’t yield sufficient improvement. The rationale is that GAPS addresses deeper gut dysbiosis. PDF guides often include detailed shopping lists and meal plans to aid adherence. However, it’s crucial to acknowledge the diet’s complexity and potential for nutritional deficiencies, necessitating careful planning and, ideally, professional guidance. It’s definitely harder to follow, but potentially worth trying.
Whole30 as a Starting Point for Dietary Changes
Whole30 offers a structured 30-day reset, eliminating common inflammatory foods – grains, legumes, dairy, sugar, and alcohol. Many find it a less daunting initial step than AIP or GAPS, making it a practical entry point for dietary exploration related to psoriasis. Numerous PDF resources detail the program’s rules and provide recipe ideas. It’s designed to identify food sensitivities by removing potential triggers and then systematically reintroducing them.
While not specifically tailored for autoimmune conditions, Whole30’s focus on whole, unprocessed foods can reduce inflammation and improve gut health, potentially alleviating psoriasis symptoms. It’s a good way to assess how your body responds to eliminating common irritants. If Whole30 doesn’t provide sufficient relief, it can serve as a foundation for transitioning to a more restrictive protocol like AIP. PDF guides can help track progress and identify potential problem foods during reintroduction.
Identifying Individual Food Triggers
Pinpointing personal triggers is challenging; PDF resources aid tracking. Elimination diets, like AIP, help reveal sensitivities beyond common allergens, requiring diligent food journaling.
The Challenge of Identifying Personal Triggers
Uncovering individual food triggers for psoriasis can be a complex and often frustrating process. While general guidelines, often detailed in PDF diet plans, suggest eliminating common culprits like gluten, dairy, and sugar, these are merely starting points. Many individuals find their psoriasis is aggravated by foods considered “healthy” or permitted on restrictive diets like AIP.
The body’s inflammatory response is highly individual. What triggers a flare-up in one person may have no effect on another. Hidden sources of inflammation, such as nightshade spices (cayenne, paprika) frequently found in processed foods, pose a significant challenge. PDF guides often highlight these sneaky ingredients, but vigilance is key.
Furthermore, reactivity to seemingly innocuous foods like cucurbits (squash, cucumbers, melons), cassava, or even coconut can occur. Detailed food diaries, coupled with careful observation of symptom changes, are crucial. It’s not always a rapid process; improvements can take months, and identifying the root cause requires patience and a systematic approach. Remember, a diet successful for someone else may not work for you.
Low-Carb Diets: Potential Benefits and Considerations
Low-carbohydrate diets are increasingly explored as a potential strategy for managing psoriasis, often detailed within comprehensive PDF diet plans. The rationale centers on reducing inflammation, as carbohydrate intake can influence insulin levels and inflammatory pathways. Some individuals report significant improvements in skin symptoms while following a low-carb approach.
However, it’s crucial to understand that low-carb isn’t a universal solution. Effectiveness varies greatly; some experience substantial relief, while others see no change or even worsening of symptoms. A poorly planned low-carb diet lacking essential nutrients can exacerbate inflammation.
PDF resources often emphasize the importance of focusing on healthy fats, adequate protein, and non-starchy vegetables. Careful monitoring is essential, and it’s vital to ensure sufficient fiber intake to support gut health. Considerations include potential impacts on energy levels and the need for electrolyte balance. Individual responses must guide dietary adjustments, and professional guidance is recommended.
Resources and Further Exploration
Downloadable PDF guides offer structured psoriasis diet plans, but remember individual needs vary. Consulting a dietitian or dermatologist is crucial for personalized advice.
Finding Reliable Psoriasis Diet Information (PDF Resources)
Numerous PDF resources aim to guide individuals through psoriasis-friendly diets, but discerning quality is vital. Look for materials created by registered dietitians, dermatologists, or reputable organizations focused on autoimmune conditions. Many PDFs detail initial steps like eliminating gluten, dairy, and sugar – foundational for many experiencing flare-ups.
However, be cautious of overly restrictive or “one-size-fits-all” plans. Effective resources will emphasize the importance of identifying individual triggers, potentially through elimination diets like AIP or Whole30, often outlined within the PDF.
Comprehensive PDFs should also address potential hidden triggers, such as nightshade spices (cayenne, paprika) frequently found in processed foods, and even less common reactivities like cucurbits (squash, cucumbers) or cassava. Remember, a PDF is a starting point; personalized guidance from a healthcare professional remains essential for long-term success and dietary maintenance.
Working with a Healthcare Professional: Dietitian or Dermatologist
Navigating a psoriasis diet plan effectively often necessitates professional guidance. While PDF resources offer valuable starting points, a registered dietitian specializing in autoimmune conditions can personalize a plan based on your specific needs and medical history. They can help interpret elimination diet results, like AIP or Whole30, and identify hidden triggers.
A dermatologist provides crucial medical oversight, monitoring skin health and adjusting treatments alongside dietary changes. They can assess if dietary modifications are impacting psoriasis severity and rule out other contributing factors.
Collaboration is key; a dietitian can translate dietary needs into practical meal plans, while a dermatologist ensures your skin receives appropriate medical care. Remember, AIP’s success relies on accurate implementation, and a professional can help address potential pitfalls, like unintentional nightshade consumption or reactivity to allowed foods like cassava or coconut.
Long-Term Dietary Maintenance for Psoriasis Control
Sustaining a psoriasis-friendly diet isn’t a short-term fix, but a lifestyle adaptation. Initial success with plans outlined in PDF guides or protocols like AIP requires ongoing commitment. Reintroducing foods systematically, while carefully monitoring for flare-ups, is crucial for identifying personal trigger foods beyond the standard lists.
Expect fluctuations; even with diligent adherence, stress or other factors can induce symptoms. Maintaining a food journal can help pinpoint patterns and refine your diet. Remember, reactivity can extend to seemingly “safe” foods like cucurbits (squash, cucumbers) or coconut.
Prioritize whole, unprocessed foods and focus on nutrient density. Long-term, a flexible approach—allowing occasional indulgences without triggering flares—is more sustainable than rigid restriction. Regular check-ins with a dietitian ensure continued effectiveness and address evolving needs.